2012 NC Miata MX-5
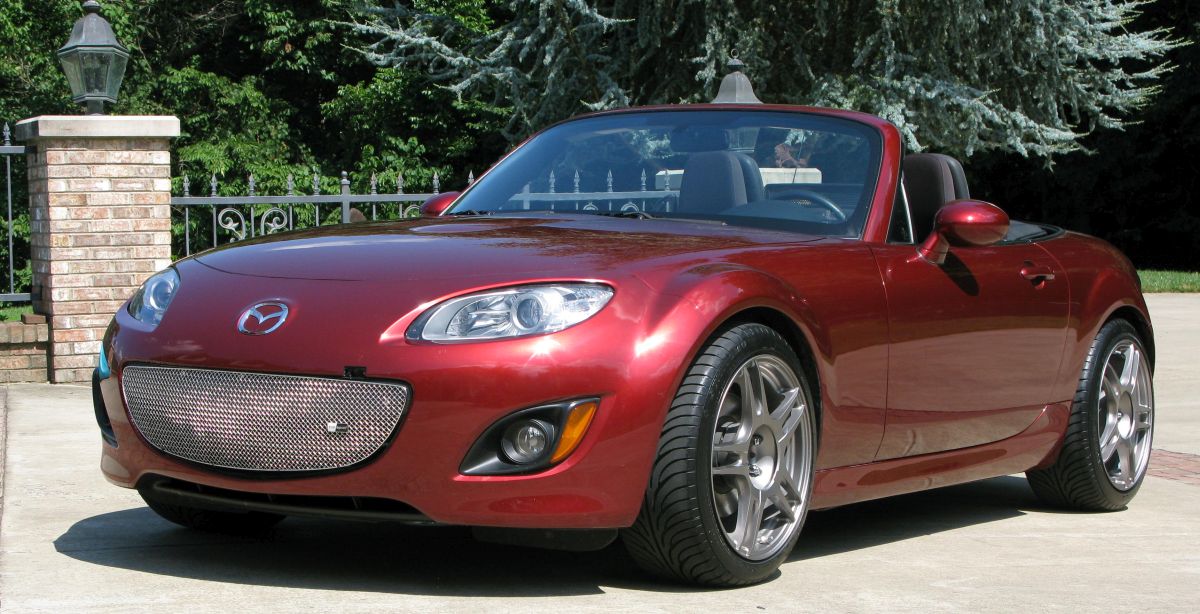
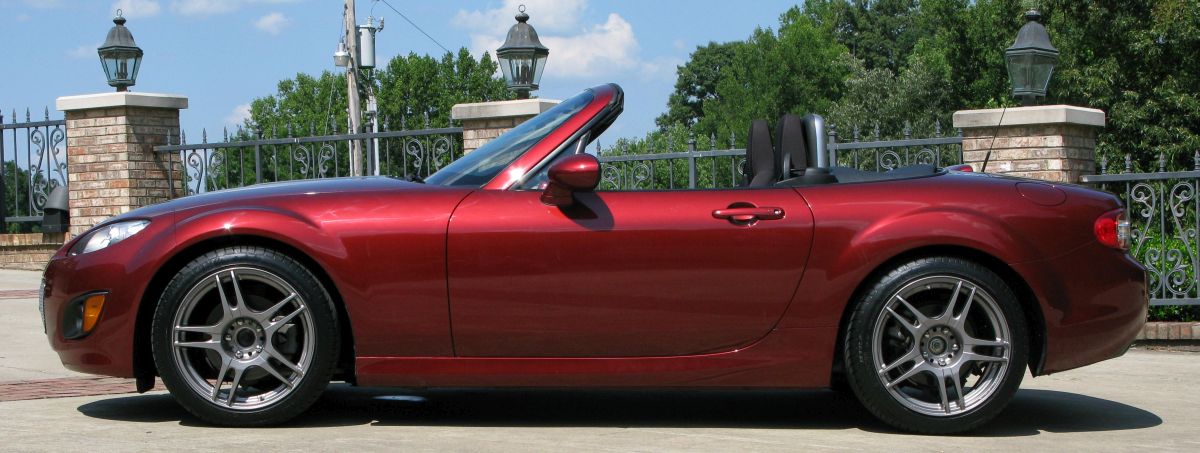
2012 NC Miata with ZunSport full grill, FM Stage II Suspension with Koni Sport adjustable shocks and adjustable front and rear sway bars, Kosei K5R 17x9 48 16.9lbs wheels and 235/40/17 tires.
I love my MX-5 Miata but the suspension was surprisingly Buick-like so it really needed a suspension makeover. I chose Flyin' Miata's Stage II suspension kit with Koni Sport adjustable shocks. It comes with nicely matched springs, shocks and adjustable front and rear sway bars. I cut 1/2 of a coil from the front springs for a slightly positive rake. I also replaced the stock bump stops with FatCatMotorsports 36/58 white (short 300in-lb front, long 200in-lb rear).
Stock Suspension.
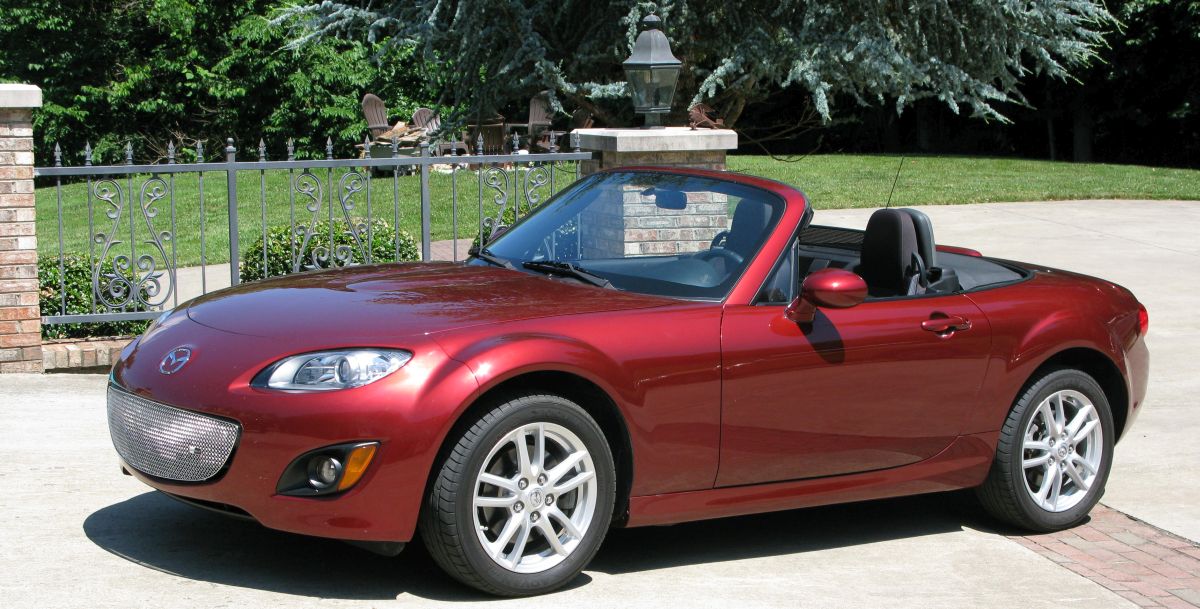
With Flyin' Miata Stage II Suspension. 1/2 of a coil was cut from the front springs to try to even out the fender gap and give a little forward rake.
The fender to wheel center measurements were:
Stock Suspension - fronts and left rear 14 7/8", right rear 15"
FM Stage II Suspension - fronts 13 5/8", left rear 13 3/8, right rear 13 1/2
So I dropped 1.25" in front and 1.5 in the rear. I should have taken a whole coil off the front to get the fender gaps equal but the car's front jack points are about 1/16" lower than the rear jack points so the chassis does have a little forward (positive) rake. I used a 12" chop saw to cut the spring coils and it still took me almost five minutes per coil.
Good-Win Racing light weight Street Single exhaust.
Flyin' Miata Stage II Suspension Analysis
Analyzed by Suspension Spreadsheet
Set: Car Wt 2480, Driver 175, 8 Gallons fuel, Wt Dist 52/48
Suspension Frequency front 1.728Hz, rear 1.842 (Original Equipment (OE) 1.282Hz, 1.654Hz)
Ratio of Rear to Front Frequency 1.066 (OE 1.290)
I also replaced the stock bump stops with FatCatMotorsports 36/58 white (300in-lb front, 200in-lb rear).
Flyin' Miata Stage II Suspension
Front Roll Couple % With Different Front & Rear Bar Settings
| Front \ Rear Sway Bar | Rear Stiff 525in-lb | Stiff & Mid 451in-lb | Mid 376in-lb | Mid & Soft 329in-lb | Rear Soft 282in-lb |
|
Front Stiff 622in-lb |
52.2% | 52.9% | 53.8% | 54.3% | 54.8%*(3) |
|
Stiff & Soft 560in-lb |
51.3% | 52.1% | 52.9% | 53.4% | 54.0% |
|
Front Soft 498in-lb |
50.4%*(1) | 51.2% | 52.0%*(2) | 52.6% | 53.1% |
*(1) Most Oversteer setting and closest to stock NC Miata.
*(2) FM Recommended setting.
*(3) Most Understeer setting.
Stock NC Miata FRC% is 46%. Table does not consider bump stop stiffness. By Rob Robinette
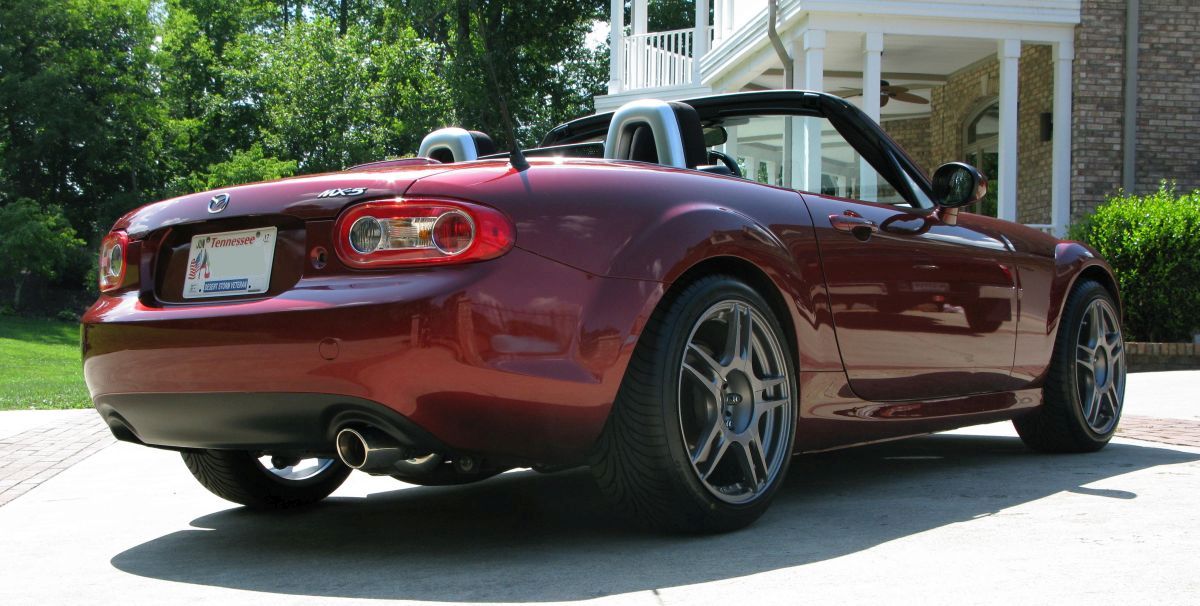
Flyin' Miata Stage II Rear Suspension
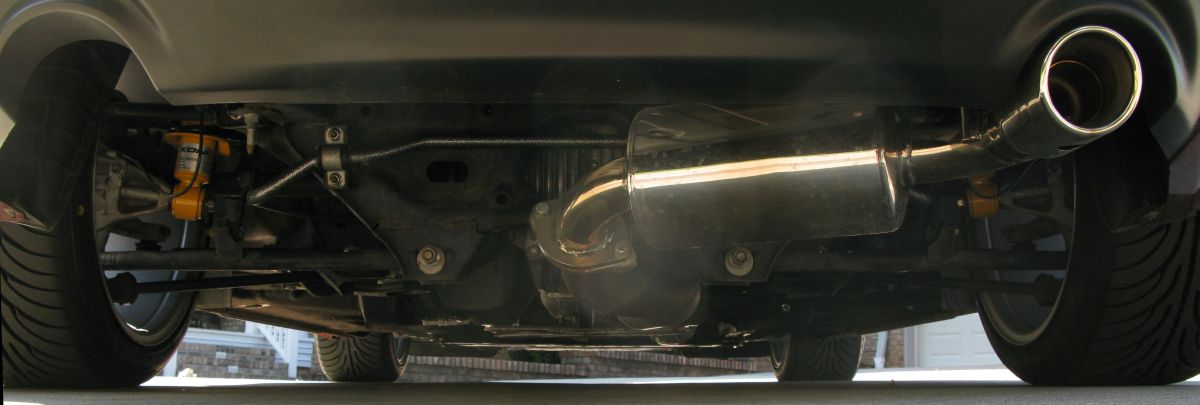
Yellow Koni Sport adjustable shocks are custom valved for the FM spring rates. FM rear sway bar is visible. Cat-back exhaust is Good-Win Racing Street Single. I love it.
*Front Roll Couple Percentage describes lateral load transfer distribution front to rear and subsequently the handling balance. It is the front roll stiffness divided by the total roll stiffness which is a ratio, front to rear, of the vehicle's total roll rate. Higher than 50% means the front wheels take more weight while cornering and the handling progresses toward understeer but for most cars around 55% gives balanced handling on the track while approximately 75% is best for autocross. For powerful cars a higher FRC% can help prevent power-on oversteer so a turbocharged Miata will typically need a higher FRC% than a normally aspirated Miata.
FM Stage II Sway Bars
Size and rates directly from Flyin' Miata
Front 1" 25.4mm Outside Diameter (OD), 0.688 Inside Diameter (ID), 0.156" 3.96mm wall
498 pound-inch soft, soft & stiff 560, 622 stiff
Rear 0.75" 19.05mm OD, 0.5" ID, 0.125" 3.05mm wall
282 lb-in soft, soft & mid 329, 376 mid, mid & stiff 451, 525 stiff
FM Stage II Springs
Front 300 lb/in, 5.4kg-f/mm, 52.6N/mm, ride height 13.5" (OE 165)
Rear 196 lb/in, 3.5kg-f/mm, 34.4N/mm, ride height 13" (OE 158)
FM Stage II Shocks
Rebound adjustable Koni Sport re-valved for FM, softest setting matches Stage II springs
I much prefer the Koni's over the Tokico shocks.
FatCatMotorsports Bump Stops
Front (short) 300
Rear (long) 200
FM Stage II Install Notes
I followed the included FM instructions except as noted below.
Note that the front and rear shocks are different so verify you have it correct before installing one. I also installed FatCatMotorsport bump stops and they are also different front to rear. The short bump stops go on the front, the tall on the rear.Front Sway Bar
Don't install the front sway bar until you have the new shocks completely installed
--you'll appreciate the extra room.I had to take the front fender liner completely off (as per FM instructions)
.I
didn't have to completely remove the center splash panel under the radiator. I loosened it on both sides (FM says remove it). I left the center front screw and the four center fasteners in the rear.Jack the front of the car as high as possible. It makes threading the FM
sway bar in easier. To get mine in I had to be able to pull the splash pan downward to make room for the insertion. The initial insertion has to be with the bar's arm going straight in like a knife. To do that I had to place the other end of the bar in front of the car--the other bar arm was in front of the headlight. Once you get the arm in you can bring the bar around to the "upside down U" position and feed it in so it's above the steering rack. I did this alone but a helper would make it easier.Remove rust from any bolts: My sway bar end link bolts were rusted and I simply put some penetrating oil on
them and let them soak. I ended up seizing both nuts as I attempted to take them off. They came about halfway off then stopped. The nuts got so stuck the bolt's allen key hole stripped out. I cleaned the other end link bolts (the end connected to the lower arm) with a small wire brush and the nuts came off without even needing the allen key.Front Shocks
You MUST use a spring compressor to remove the stock front springs.
I bought a compressor at O'Riley Auto Parts for about $35. I got the one that has the small U bolts that go around the springs.My MX-5 is a 2012 so I cut 1/2 of a spring coil from the top of the front springs to even out the fender gaps. In the end I wish I had removed a full coil as the rear fender to wheel center was still about 0.2 inch greater than the front. Even so I still had about .125" (1/8") of forward rake measured at the jack points and I need to adjust the headlights higher.
I didn't have a helper so I had to use the spring compressor to install the front FM springs. With a helper to thread on the top nut it can be done without the compressor.
With a helper just install the big washer and top nut, you can easily put the big rubber bushing on after you get the shock installed in the car. I used my impact wrench to tighten the compressor bolts.If you have the upgraded FatCatMotorsports bump stops install the short bump stops on the front shocks.
The suspension needs to be weighted when you tighten the suspension bolts to prevent bushing preload. I drove up on a set of ramps to tighten the upper arm, lower shock and sway bar fasteners to set their bushings. If you don't do this you'll have bushing preload which will cause a higher than normal ride height and you'll destroy your bushings.
Rear
ShocksHit all the bolt threads with a wire brush (see above ;) )
For me the rear shocks were much more difficult to install than the front--I know that's the opposite
of most people.If you have trouble getting the upper arm bolts out use a big screwdriver to pry them outward as you turn them with a wrench.
I could not break the shock top nut loose, even with an extra long 17mm wrench so I took the shock out with the top hats attached. Those damn upper hat nuts are a pain to
loosen and tighten.The stock rear springs can be removed without a spring compressor. I just hit the shock top nut with my impact wrench and the nut came off with no drama.
The rear springs are under much less preload than the fronts.If you have the upgraded FatCatMotorsports bump stops install the tall bump stops on the rear shocks.
I could not get the right
rear suspension's front upper arm tightened from under the car while it was on the ramps (with suspension loaded). I just could not contort my arms in there to get it done. The strange thing is the left side suspension wasn't a problem. I had to raise the front left corner with one jack, remove the wheel, then use another jack to support the knuckle, remove the other jack to place the weight on the knuckle, then level the rear of the car so the knuckle was in the position it would be with the wheel in place. With the knuckle supporting the weight of the car I tightened that damn front upper arm.I installed a shock tower brace with holes for adjusting the shocks but the Koni plastic adjusters didn't fit so I made this adjustment wrench by simply cutting a slot into a 1/4" driver using a Dremmel and cutting disk.
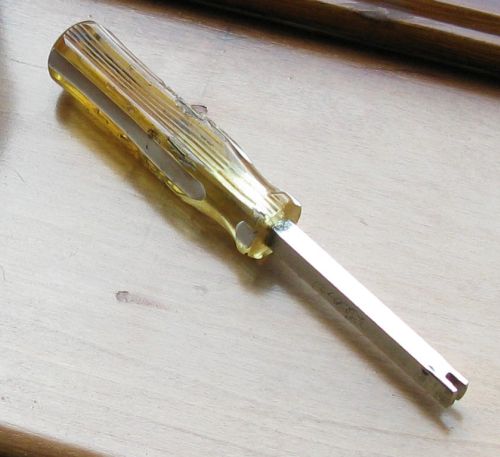
Koni adjuster tool.
MazdaSpeed MS-R part numbers:
Wheels - 17" 9965-38-7070 8
LSD (w/o Pumpkin) MS03-27-200A 1
LSD (w/ pumpkin) MS06-27-100D 1
Under Brace Kit* #1 QNC1-56-3A1 1
Under Brace Kit* #2 QNC1-28-85X 1
Under Brace Kit* #3 QNC1-56-38Y 1
Kit, Frt. Shock Tower Brace K-STRUT-BAR2 1
Dampers, Front 0000-04-5241-KN 2
Dampers, Rear 0000-04-5242-KN 2
Front Bump Stop 0000-04-5246-BS 2
Rear Bump Stop 0000-04-5247-BS 2
Coil Spring Kit* 0000-04-5105-KT 1
Sway Bar, Front 0000-04-5316 1
Sway Bar, Rear 0000-04-5317 1
NF51-V4-920G-74 REAR LIP SPOILER - Copper Red 32V
Kit, Sandwich Oil Cooler 0000-01-5100-KT 1
MazdaMotorsports Adjustable Front Sway Bar $622
0000-04-5341
@ KIT,SWAY BAR ARM (FRT) [2 front arms only]
Notes: 69-2027 ADJUSTABLE
MX-5 Miata
RX-8
2006 - 2015
$421.00
0000-04-5341-01
@ TORSION BAR(.095" WALL) [Best bar for most NC Miatas]
Notes: 1.25" OD X 36.5" LENGTH
MX-5 Miata
RX-8
2004 - 2015
$135.00
0000-04-5341-02
TORSION BAR(.120" WALL)
Notes: TORSION BAR(.120" WALL)
MX-5 Miata
RX-8
2004 - 2015
$128.00
0000-04-5341-03
@ TORSION BAR(.188" WALL)
Notes: 1.25" OD X 36.5" LENGTH
MX-5 Miata
RX-8
2004 - 2015
$135.00
0000-04-5341-04
@ TORSION BAR(.250" WALL)
Notes: 1.25" OD X 36.5" LENGTH
MX-5 Miata
RX-8
2004 - 2015
$144.00