S2000 Front & Rear Sway Bar Install
Text and Photos By Zane Goodwin
Hey guys, although the sway bars come with instructions, I wanted to make a pictorial for those challenged by words only, like myself, and also to give tips on things I found that make the install flow better.
Lastly, before I start, this install and your following of said instructions will mean you accept any and all responsibility of your install and that I will not be held liable for any damages that you do to your car, your property, yourself, anyone else, or anyone else's property.
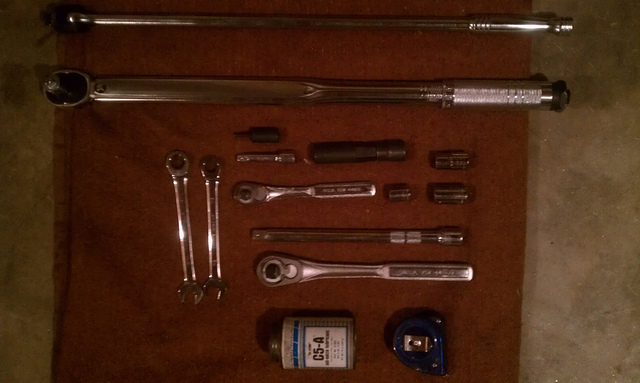
Tools Needed
3/8" ratchet wrench
3/8" extension
14mm socket
17mm socket
1/2" wrench (used for the back side of the links, a ratcheting box end wrench
works great here)
14mm wrench
Breaker bar (not absolutely necessary but nice to have as I don't like using my
torque wrench to break bolts free)
3/16' Allen head socket or key (used a socket in 3/8" drive and it was great)
What ever size socket you need to take your wheel lugs off (for me it was 19mm
deep socket)
Anti-seize compound
Measuring tape (not necessary but helpful for centering the sway bars)
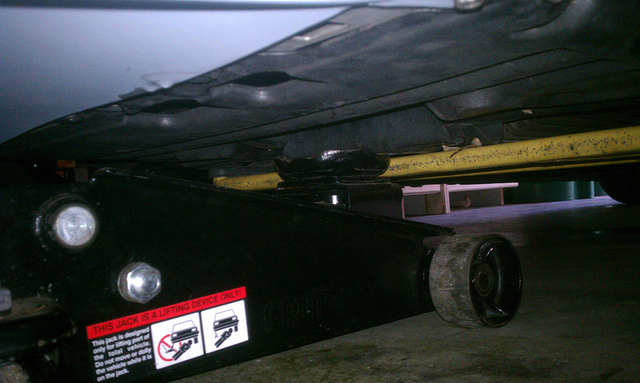
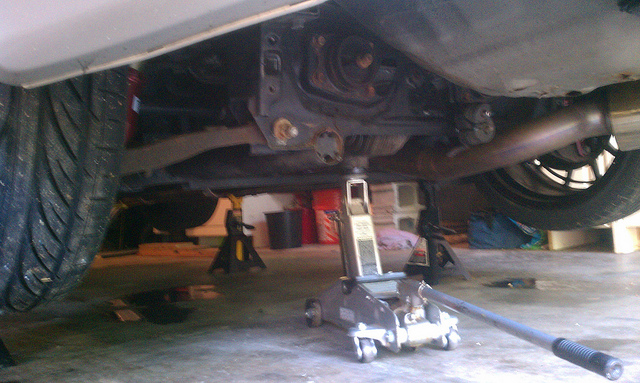
Jack and 4 jack stands
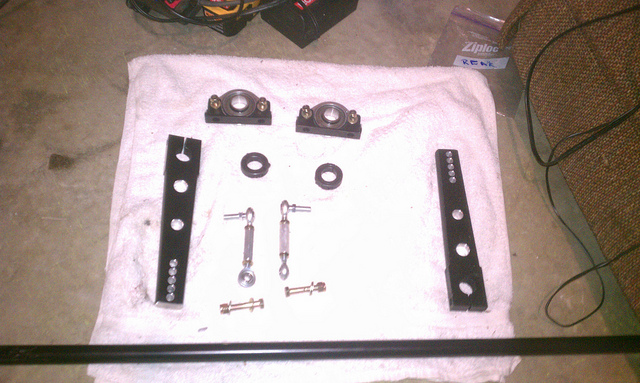
Here is the rear sway bar kit (arm pinch bolts are not in picture)
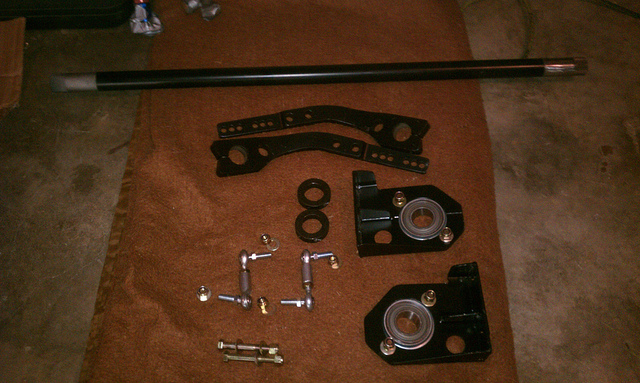
Here is the front sway bar kit with ball bearing kit included
Step 1. Loosen your lug nuts (make sure you can get a jack under your car. For cars too low, drive up on ramps first!)
Step 2. Jack up the car and put it on jack stands.
I like using the front center jack point
I like using the rear diff jack point
Rear Sway Bar Install
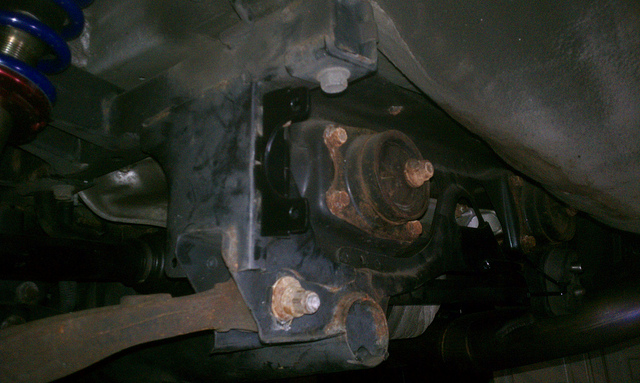
Step 1. Remove the stock rear sway bar keeping the sway bar mount bolts (4 total- two per side) (this is not going to be covered in this DIY but you'll need 14mm socket and wrench and an Allen key in a size I didn't write down (haha)) Do not try to loosen the end links by turning the Allen key--its purpose is only to keep the end link shaft from spinning as you remove the nut.
Step 2. Install the sway bar mounts (14mm bolts) - torque to 35-40 lb-ft
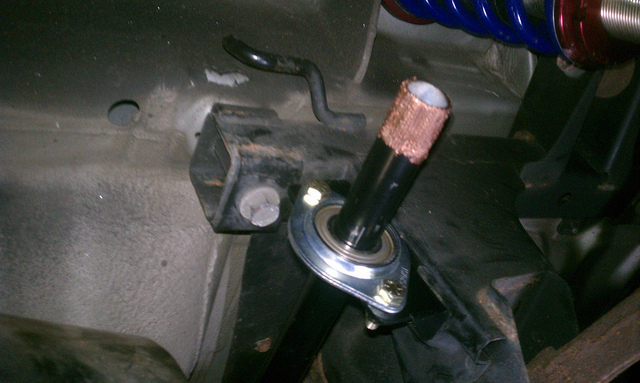
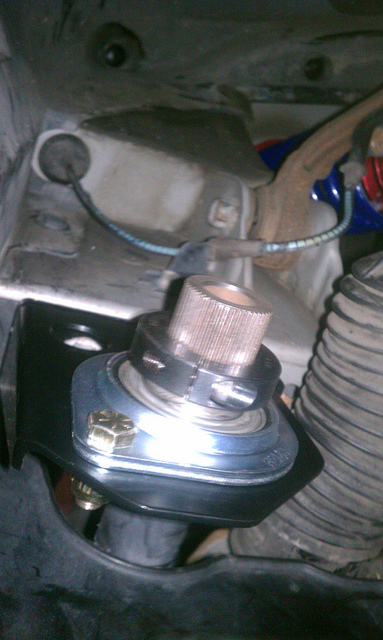
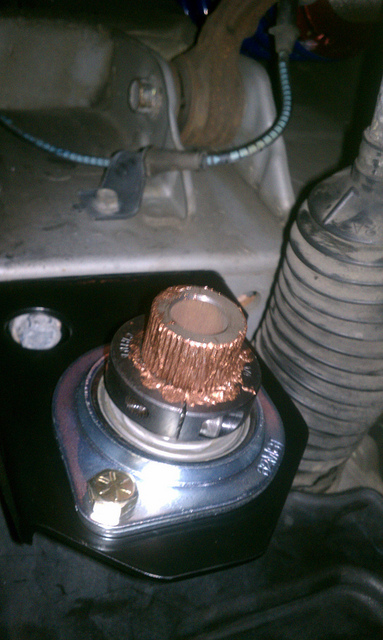
Step 3. Install the bearing and bearing holder set on the outside of the sway bar mounts you just installed. So from inside to outside it goes- mount, bearing plate, bearing with bearing cam (part that extrudes from bearing) facing in towards the differential, bearing plate. As of right now leave these loose!
Step 4. Slide the sway bar through the bearings on both sides. Center the bar on the car (measuring tape helps here) and then torque bearing assembly to sway bar mount- Torque to 20-24 lb-ft. Grab the sway bar and rotate it back and forth insuring free rotation. Install the two bolt split clamps onto the sway bar butted up against the bearing cam on the inside of the bar.
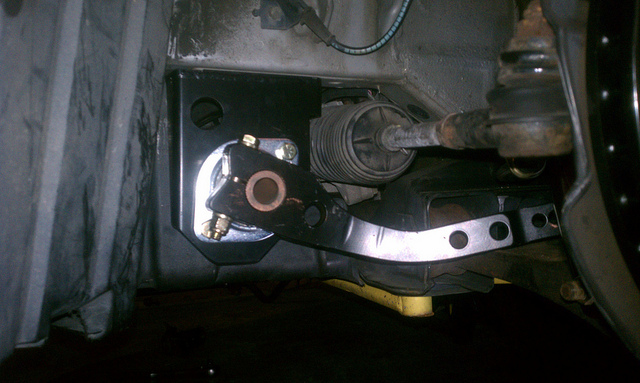
Step 5. Coat the sway bar ends with anti seize compound (as seen in Step 4 photo) and then install the sway bar arms. Do one first and let it rest on the control arm and then do the other side in the same position/ parallel to the other. Put the pinch bolts through but leave them loose at this point.
Step 6. Install the sway bar links. The captive end (the end that has the bolt coming out of it) of the link goes through the eyelet on the control arm. It goes from the inside of the eyelet so that the nut attaches on the side of the control arm facing out. Go ahead and toques these bolts to 24-28 lb-ft. Don't install the other end yet.
View from center of car towards the passenger rear
If you are not installing the front sway bar at this point skip down to
Setting Sway Bar Pre-load
Front Sway Bar Install
Step 1. Remove the front sway bar and sway bar mount keeping the four 17mm bolts from the OEM sway bar mount.
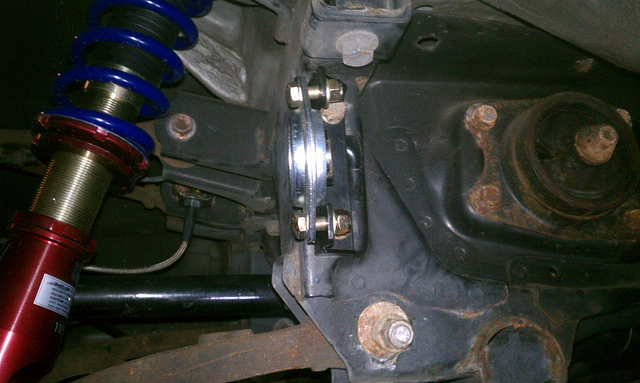
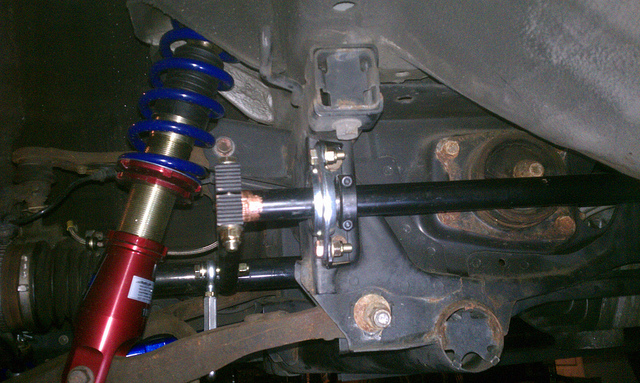
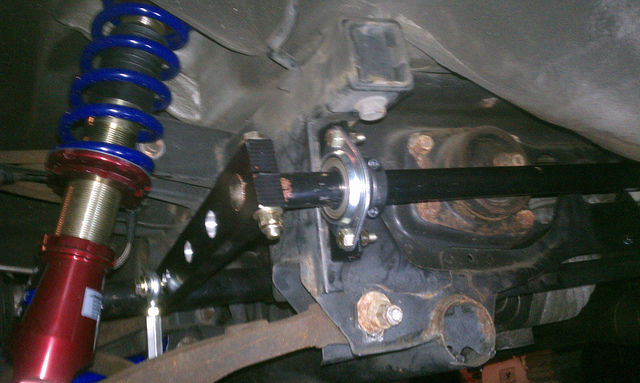
Step 2. Install the bearing assembly to the outside (flat side) of the sway bar mounts. From the inside out: sway bar mount, bearing plate, bearing with bearing cam (the part that extrudes from the bearing) facing out this time, and bearing mount. Lightening hole faces towards he front of the car Don't fully tighten yet. Install sway bar mount with bearing assembly attached. Torque sway bar mount bolts to 35-40 lb-ft.
Step 3. From the inside of the sway bar mounts, install the sway bar. You'll need to pull a couple plastic clips to get under the plastic under tray to perform this maneuver. Center the sway bar on the car. I did this by installing the 2 bolt split centering clamps on loosely (they get installed on the outside of the mount this time and again butted up against the bearing cam) and then the sway bar arms (don't worry about positioning at this point as you re just centering the bar and the arms are about to come back off). This allowed me to tap the ends of the sway bar to center it.
Step 4. Now take the arms back off and tighten the 2 bolt centering clamps. Torque the bearing assembly bolts to the sway bar mounts to 24-28 lb-ft. Coat the splines with anti-seize compound.
Step 5. Install the arms on the end of the sway bar. Do one first and let it rest on the control arm and then do the other side in the same position/ parallel to the other. Put the pinch bolts through and torque them to 24-28 lb-ft.
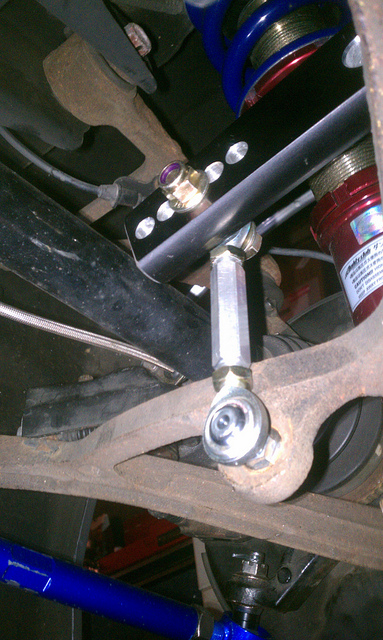
Step 6. Install the rod end (the thicker part) on the rear of the control arm eyelet for the stiffer three settings and to the front of the control arm eyelet for the softer three settings. To reiterate- softest setting (#1) is furthest from the sway bar and the stiffest (#6) is the closest to the sway bar. I am using hole #5 so I am using the front of the eyelet. Go ahead and tighten the lower part of the link to the control arm to 24-28 lb-ft. Leave the top of the link undone at this point.

Setting Front Sway Bar Pre-load
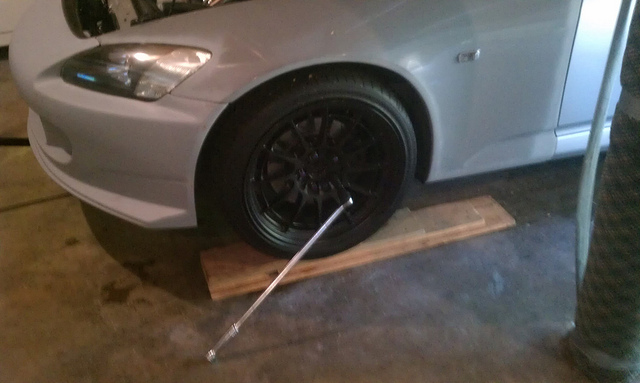
Step 1. Put the wheels back on and put the car on the ground. The correct way is to put a small load on the tires and then toque those wheels to 80 lb-ft and then drop the car all the way down and repeat for the other end. However you do it, make sure to torque your wheels back on. Bill Gendron's instructions say to use a 4X6 board but I used my home made ramps.
Step 2. Have someone the weight of the driver (presumably you??!) sit in the drivers seat. I used a multitude of stuff that ranged from brake rotors and turbo/ full race manifold to 50 lbs in dumbbells and a partially full keg!

Do the front first as it is harder and at this point some people need to go ahead and take a big gulp of the drink you made in the beginning or refill!! Drive the car up onto your ramps or whatever it is you are using, It must be tall enough for you to be able to get to the links while the car is on the ground. ***Do not just lower the car on your ramp/riser drive/roll it on, you want the suspension to settle to its normal ride height.
Step 3. Now reach under the car and manipulate the link (screw them in or out to shorten or lengthen the length). You need to be able to put the captive end bolt through the sway bar arm with very little restriction. Make sure the bolt is directed in the right direction. You can manipulate them as they are ball mounted into the link.
Continue to try multiple times until you find the length with which gives the least resistance through the sway bar arm. Position the links correctly and tighten the jam nut to 10lbs(hand tight with wrench) and torque link nuts to 24-28 lb-ft. Once i found the correct length I jacked the car up and placed the front on jack stands to give me some room to work.
Step 4. Lower the car, you are done with the front.
Setting Rear Sway Bar Pre-load
Step 1. Back the car up onto your ramps/ board(s), It must be tall enough for you to be able to get to the links while the car is on the ground. ***Do not just lower the car on your ramp/ riser drive/ roll it on.
Step 2. Now reach under the car and manipulate the link (screw them in or out to shorten or lengthen the length). You need to be able to put the bolts through the sway bar arm with very little restriction. Make sure the bolt is directed in the right direction. You can manipulate them as they are ball mounted into the link.
Be very cognoscente of the the lower jam nut on the control arm side. It is very close and this is why i told you to keep the pinch bolts on the arms loose when installing. You need to manipulate the sway bar arm position to make sure that the jam nut/ link will not bond on the control arm. Once you find a good positioning, torque the pinch bolts on the sway bar arms to 24-28 lb-ft.
Continue to try multiple times until you find the length with which gives the least resistance through the sway bar arm. Position the links correctly and tighten the jam nut to 10 lb-ft and torque link nuts to 24-28 lb-ft.
Step 3. Drive the car of the ramps and you are done!
Lastly, go drive your car around for about 50 miles and make sure to check all bolts for correct torque specs. They should all be perfect as all bolts are nylon locking nuts. If something is wrong, replace the nut.